
Building a DIY Smokehouse: A Guide to Preserving Meats
In times of uncertainty, it becomes crucial to have the knowledge and skills to provide for ourselves and our families. One essential aspect of self-reliance is the ability to preserve food for long-term storage. By building your own smokehouse, you can ensure that you have a reliable method of preserving meats, even in the absence of electricity or refrigeration. In this guide, we will walk you through the process of constructing a DIY smokehouse, so you can be prepared for any situation that may come your way.
1. Choosing the Location
The first step in constructing a smokehouse is finding the right location. It should be an area that is well-ventilated and away from any flammable structures. Ideally, you should select a spot that receives plenty of sunlight to help with the smoking process. Additionally, ensure that the location is easily accessible for adding and removing meats.
2. Gathering Materials
Once you’ve determined the location, it’s time to gather the necessary materials. Here’s a list of items you’ll need to build your DIY smokehouse:
- Pressure-treated lumber
- Plywood or metal sheeting
- Galvanized nails or screws
- Smoker box or racks
- Grill grates
- Weather-resistant paint or sealant
- Fire-resistant materials for insulation
- Thermometer
- Saw, hammer, and other basic tools
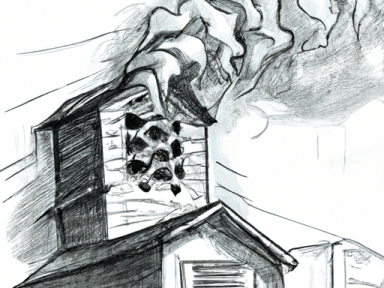
3. Construction
Now that you have the necessary materials, it’s time to start building your smokehouse. Follow these steps:
- Measure and mark the dimensions of your smokehouse on the ground, leaving enough space to move around it comfortably.
- Construct the base using pressure-treated lumber, ensuring it is level and stable.
- Build the walls and roof of your smokehouse using plywood or metal sheeting. Leave space for windows and doors as needed.
- Install the smoker box or racks inside your smokehouse, making sure they are securely fastened.
- Attach the grill grates to the racks, providing ample space for the smoke to circulate around the meat.
- Seal any gaps or cracks in the smokehouse using fire-resistant materials to ensure proper insulation.
- Paint or seal the exterior of the smokehouse with weather-resistant paint or sealant
- Install a thermometer on one of the walls to monitor the internal temperature.
4. Smoking Process
With your smokehouse now built, it’s time to start smoking your meats. Here are some key points to remember:
- Use a reliable source of hardwood chips or sawdust for smoking. Hickory, apple, and mesquite are popular choices.
- Preheat your smokehouse to a temperature between 180-220°F (82-104°C) before adding your meats.
- Place the meats on the grill grates, ensuring they are not overcrowded.
- Keep the smokehouse door closed as much as possible during the smoking process to maintain a steady temperature.
- Monitor the internal temperature with the thermometer and adjust the heat source as needed.
- Allow the meats to smoke for the recommended time, depending on the type and size of the meat.
- Once smoked, remove the meats and allow them to cool before storing them in airtight containers or vacuum-sealed bags.
Remember, building a DIY smokehouse is not only a practical and self-reliant endeavor, but it also provides peace of mind during uncertain times. By following this guide and honing your skills, you can ensure a stable food supply and take a crucial step towards self-sufficiency. Don’t delay, start building your smokehouse today!


GIPHY App Key not set. Please check settings