
DIY Dried Fruit: A Long-lasting and Nutritious Survival Snack
In these uncertain times, it is crucial to be prepared for any upcoming crisis or disaster that could potentially disrupt our food supply. One of the key aspects of self-reliance is learning how to preserve and store food for extended periods. Today, I want to share with you a simple and effective method to make your own dried fruit, a healthy snack that can last for years when properly preserved. Let’s dive in!
Why Dried Fruit?
Dried fruit is a great addition to your survival pantry for several reasons:
- Long Shelf Life: Unlike fresh fruit, which spoils quickly, dried fruit can last for several years when properly stored. This makes it an excellent option for long-term food storage.
- Nutritional Value: Drying fruit preserves its natural vitamins, minerals, and fiber content, making it a nutritious snack that provides essential nutrients during times of scarcity.
- Energy Boost: Dried fruit is packed with natural sugars, providing a quick and sustainable energy source when you need it most. It can help keep you going during physically demanding tasks or emergencies.
Step-by-Step Guide to Making Dried Fruit
Now that we understand the benefits, let’s walk through the process of making dried fruit:
- Choose the Right Fruit: Not all fruits are suitable for drying. Opt for fruits with high sugar and low acid content, such as apples, bananas, strawberries, and peaches. Avoid fruits like citrus and pineapple, as they do not dry well.
- Preparation: Wash the fruits thoroughly and remove any stems, seeds, or bruises. Slice them into even pieces to ensure consistent drying.
- Pre-Treatment (Optional): Some fruits may benefit from pre-treatment to preserve color and flavor. You can dip them in a solution of lemon juice or honey diluted in water before drying.
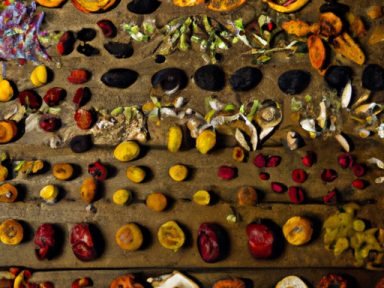
- Drying: There are several methods to dry fruit, including using an oven, a food dehydrator, or the sun. Let’s focus on the sun drying method:
- Sun Drying:
- Place the prepared fruit slices on a drying rack or a clean mesh screen.
- Position the rack in direct sunlight, preferably in a location with good airflow.
- Cover the fruit with a thin cloth to protect it from insects or debris.
- Rotate the fruit every few hours to ensure even drying.
- Continue the process until the fruit is fully dried but still pliable. This may take several days depending on the climate.
- Storage: Once the fruit is dried, it’s crucial to store it properly to maintain its quality and longevity:
- Ensure the dried fruit is completely cooled before storing.
- Place the fruit in airtight containers, such as glass jars, mylar bags, or vacuum-sealed bags.
- Label the containers with the date of preservation for easy tracking.
- Store the containers in a cool, dark, and dry location to prevent moisture or heat exposure.
Enjoy the Fruits of Your Labor!
Congratulations! You have now successfully made your own dried fruit. Not only is it a tasty and healthy snack, but it also serves as a valuable addition to your emergency food supply. Just remember to rotate your stock and consume the dried fruit within a reasonable timeframe to enjoy its optimum flavor and nutritional value.
By learning essential skills like making dried fruit, you are taking proactive steps towards self-reliance and preparedness. I encourage you to continue exploring self-reliance practices, such as gardening, canning, and learning first aid. Together, we can build a resilient and self-sufficient community, ready to face whatever challenges may come our way.
Stay prepared, stay self-reliant!


GIPHY App Key not set. Please check settings